Used RV Inspection Checklist: What to Check Before You Buy
A system-by-system used RV inspection checklist: roof, walls, floors, slides, tires, brakes, propane, plumbing, electrical, and the red flags that end a deal.
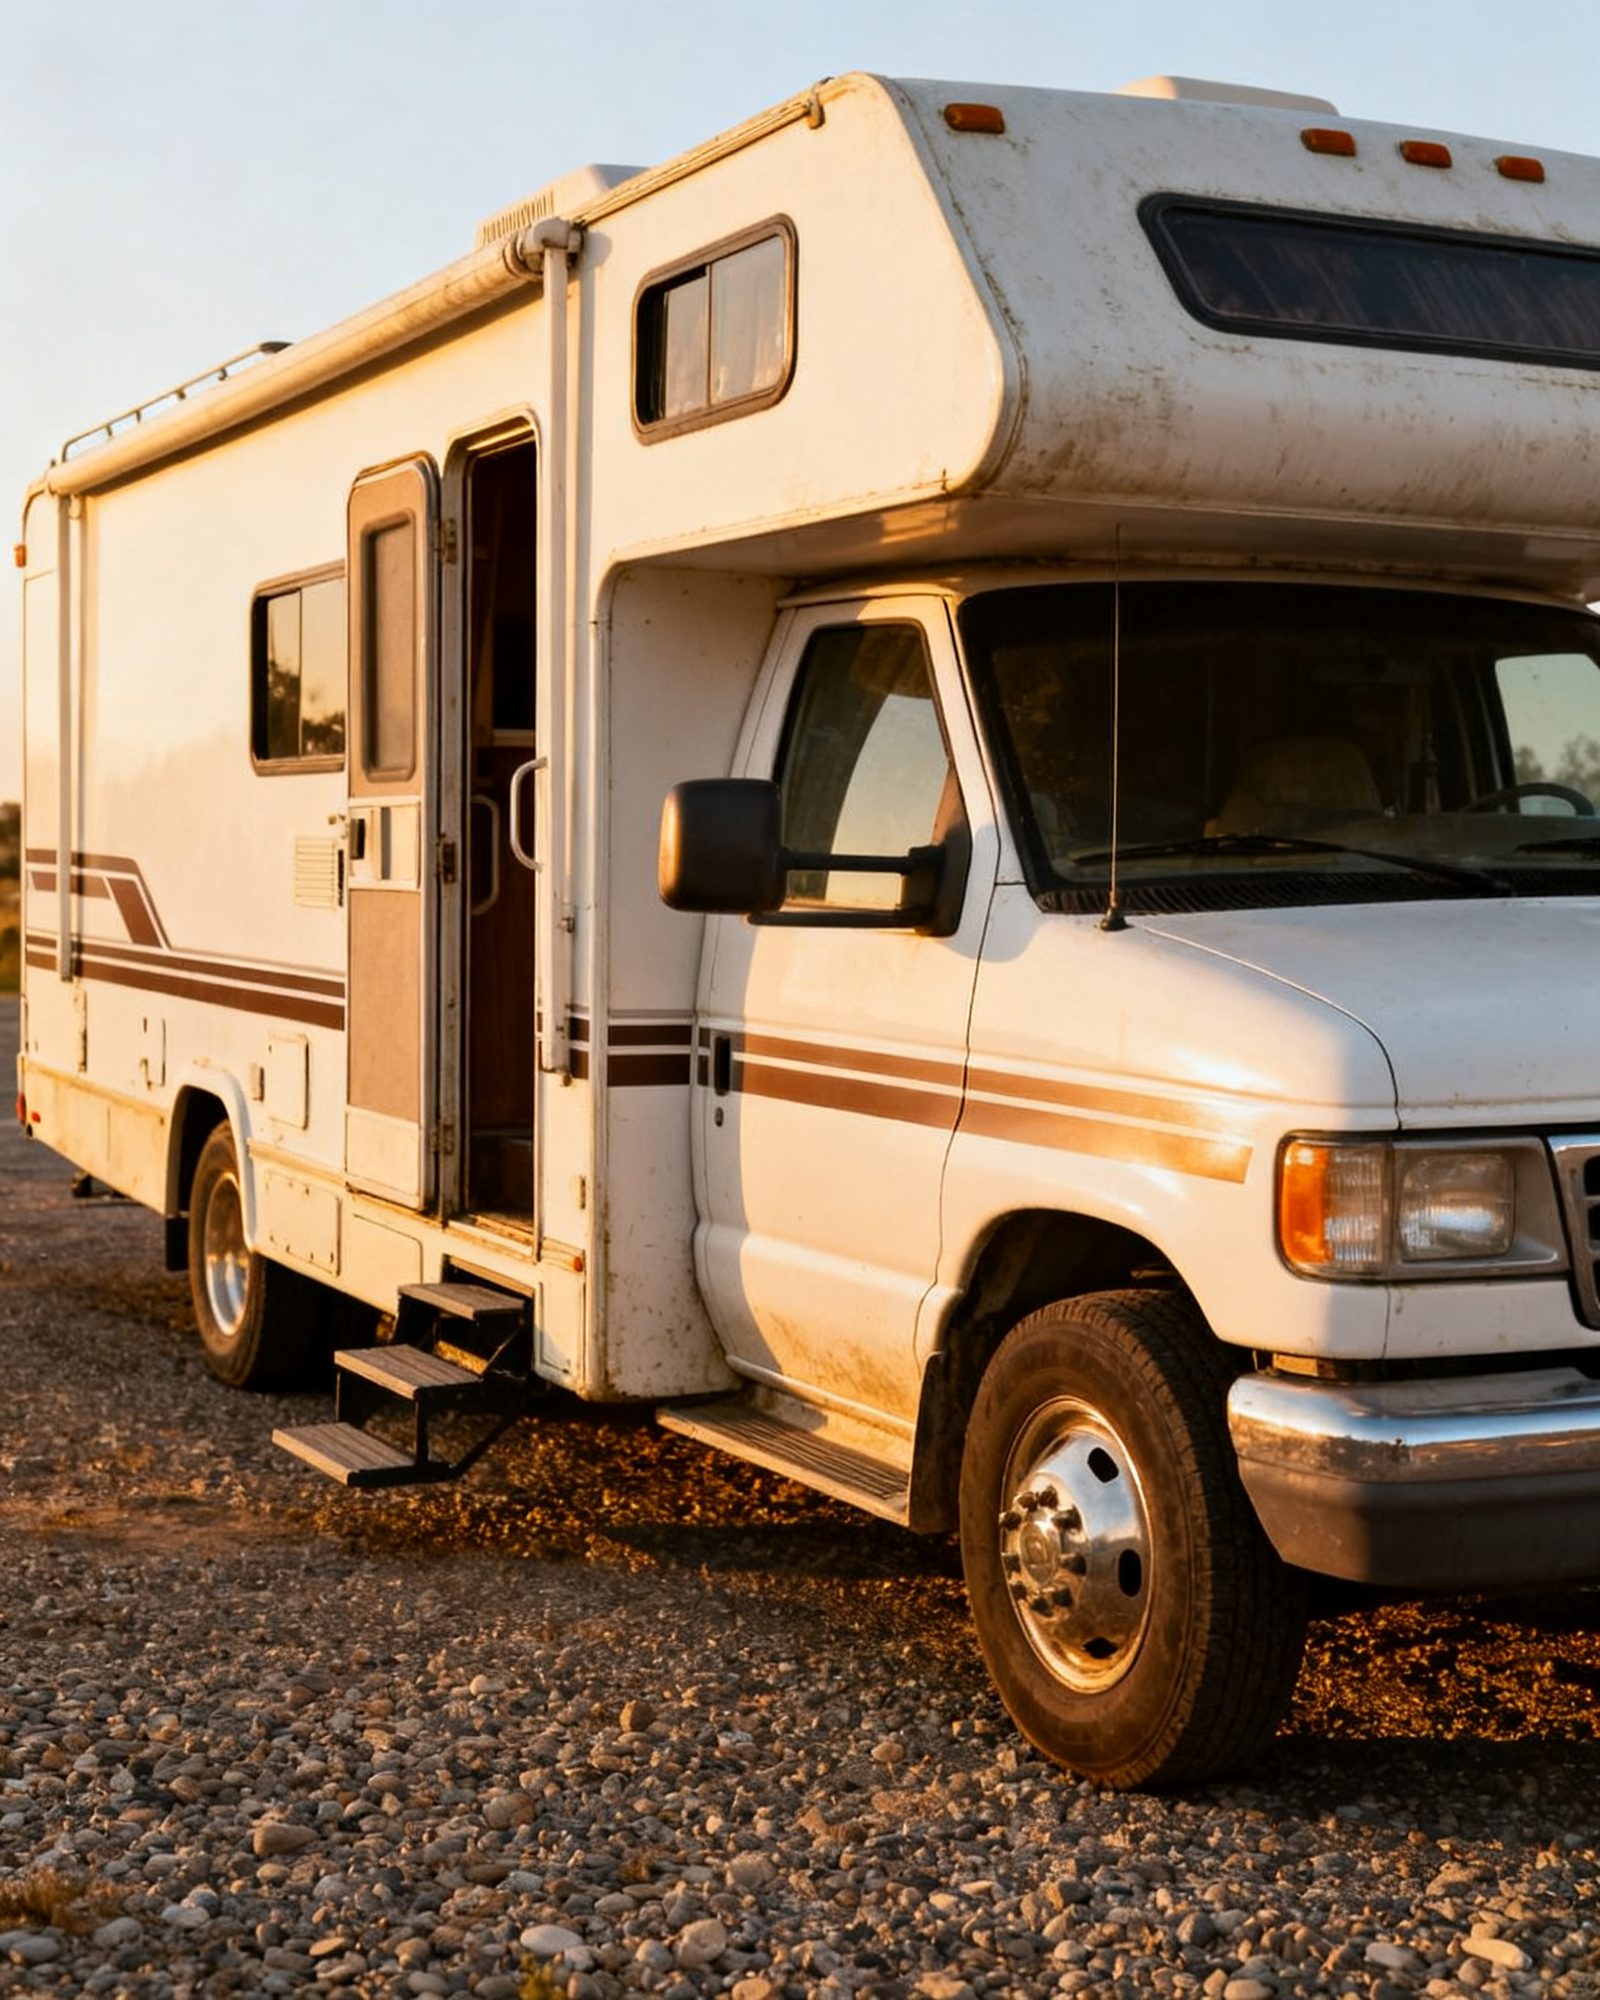
A used RV inspection is a walk-around and a hands-on test of every system, done before money changes hands. Work from the roof down and from the outside in, write down what you find, and treat water intrusion, propane leaks and electrical faults as stop signs until a qualified RV technician has checked them. The checklist below covers what to bring, what to test in each system, the red flags that should end a deal, and when to pay an independent RV inspector instead of relying on the seller’s word.
What to bring to a used RV inspection
- A flashlight and a mirror on a stick for roof edges, compartments and the cabover.
- A moisture meter for interior walls and ceilings.
- A tire pressure gauge; the full DOT date code may be on the inner sidewall, where the mirror helps.
- A notepad or phone for photos of every defect and every label.
- The VIN from the title, registration and federal certification label, so they can be compared on the spot.
- A drinking-water hose and a pressure regulator if you plan to test the plumbing; ask the seller first.
Do the inspection in daylight. A wet roof is slippery and unsafe to stand on, but fresh stains or drips inside after rain point straight to a leak.
System-by-system used RV inspection checklist
| System | What to check | Red flags that end the deal |
|---|---|---|
| Roof and seals | Membrane condition, seams, roof vents, skylights, antennas, ladder mounts; sealant cracked or peeling | Soft spots, tears, ponding water, fresh sealant over rot |
| Walls and delamination | Bubbles, waves or ripples in the sidewall; press along the upper and lower edges; check around windows, corners and the cabover | Any delamination, especially near the cabover or slide-outs |
| Floors | Soft spots under the dinette, in the bathroom, at the entry step and around the water heater | Spongy floor, stains, musty smell |
| Slide-outs | Extend and retract every slide; look at the rubber seals, the floor edge and the ceiling where the slide meets the wall | Seals torn or missing, slide binding, water stains at the slide corners |
| Chassis and engine | Frame rust, exhaust, fluid leaks, belts and hoses, engine and transmission behavior on a test drive | Heavy rust-through, coolant or oil leaks, transmission slipping |
| Tires and date codes | DOT code on every tire, sidewall cracks, uneven wear, correct load range | Tires older than the maker’s replacement guidance, mismatched sizes |
| Brakes | Pedal feel, brake fluid, trailer brake controller and breakaway switch on a towable | Soft pedal, metal-on-metal noise, missing breakaway cable |
| Propane system and alarms | Tank or cylinder date, OPD handwheel, LP gas detector, smoke and CO alarms, test buttons | Out-of-date cylinder, alarm past its replacement date, smell of propane |
| Appliances | Fridge on each power source it has, furnace, water heater, stove, range hood, air conditioner | Any appliance that will not light or cool |
| Plumbing and tanks | Fresh, gray and black tanks; pump, faucets, toilet, shower, water heater; look for leaks under sinks | Cracks, leaks, stains, a water heater that was run dry |
| Electrical | Shore power cord, converter, inverter, coach batteries, 12-volt lights, outlets, GFCI | Burned plugs, scorched outlets, batteries that will not hold a charge |
| Generator | Start and run under load, exhaust routing, hour meter, CO alarm nearby | Exhaust leaks, refusal to start, exhaust blocked or near a window |
| Awning and jacks | Fabric, arms, springs; leveling jacks and stabilizers | Torn fabric, bent arms, jacks that will not extend |
Roof and seals
Walk the roof only where the maker says it can be walked on; otherwise look from a ladder. Look for cracked or peeling sealant at every seam, around vents, skylights and antennas. Sealant dries out with age and must be renewed; fresh sealant over a soft area is a warning, not a repair. If the roof feels spongy underfoot, stop and treat it as water damage until proven otherwise.
Walls and delamination
Run a hand along the sidewalls and press gently. Bubbles, waves or ripples in the fiberglass skin mean the outer layer has separated from the wall behind it, usually because water got in. Check the cabover on a Class C, the corners, and the area around every window and slide-out. Any delamination is a reason to walk away or to renegotiate only after an independent inspection.
Floors and water damage
Water damage is among the most common and most expensive defects in used RVs. Walk the floor in socks or soft shoes and feel for soft spots, especially at the entry step, in the bathroom and around the water heater. Look for stains, sagging and a musty smell. A moisture meter on interior walls finds damp that cannot be seen. For a deeper method, see spotting water damage and delamination in a used RV.
Slide-outs
Extend and retract every slide-out with the RV level. Watch the seals as the room moves; torn or missing rubber lets water in. Look at the floor edge and the ceiling where the slide meets the wall for stains. Each slide adds weight, a mechanism and seals to maintain, so a unit with several slides has more to inspect and more to fix.
Chassis, engine and test drive
On a motorhome, check the frame for rust-through, look for fluid leaks under the engine and transmission, and check belts and hoses. On the test drive, listen for transmission slipping, brake noise and steering wander. A lab analysis of engine oil, coolant and transmission fluid can be added to a professional inspection; it is the closest thing to a health check on the drivetrain.
Tires and date codes
The DOT code on the sidewall ends in four digits giving week and year of manufacture: 2419 means the 24th week of 2019. RV tires often age out before the tread wears out. Common guidance is a yearly inspection once tires are 5 years old and replacement no later than 10 years from the date of manufacture, whatever the tread looks like. ST tires without a speed rating are limited to 65 mph. Inflate to the pressure for the actual load, measured cold. More on RV tires: age, load and pressure.
Brakes and towing gear
Trailers with electric brakes need a brake controller in the tow vehicle. Many states require trailer brakes and a breakaway system above a weight they set; check your state DMV. A breakaway switch applies the trailer’s brakes if it comes off the tow vehicle, and safety chains should be crossed under the tongue. Never use a hitch, ball or receiver rated below the load.
Propane system and alarms
Propane is heavier than air and collects low; RVs have an LP gas detector near the floor. Check the date on the tank or cylinder. Since 2002, DOT propane cylinders of 4 to 40 pounds must have an overfill prevention device (OPD) to be refilled, recognised by a triangle-shaped valve handwheel. A DOT cylinder must be requalified 12 years after its date of manufacture and at set intervals after that. Test the smoke, carbon monoxide and LP gas alarms and check the replacement date on each unit. If you smell propane, put out flames, do not operate electrical switches, close the tank valve if it is safe to do so, open doors, get everyone out, and have the system checked by a qualified RV technician before using it again. Propane system work is a job for a qualified RV technician. See RV propane safety: tanks, leaks and detectors.
Appliances
Test the refrigerator on each power source it has, the furnace, the water heater, the stove and the air conditioner. A water heater must be full of water before its electric element or burner is switched on; a heater run dry may be damaged. Ask the seller to demonstrate each appliance rather than taking a verbal assurance.
Plumbing and tanks
Fill the fresh tank, run the pump and check every faucet, the toilet and the shower. Look under sinks and around the water heater for leaks and stains. The three tanks are fresh water, gray (sinks and shower) and black (toilet). Dump black first, then gray, which rinses the hose. Use a hose made for drinking water and a pressure regulator at campground taps.
Electrical and generator
Shore power comes in 30-amp (120 volts, about 3,600 watts) or 50-amp (120/240 volts, up to 12,000 watts) service. A 30-amp RV must never be connected to a household 240-volt outlet such as a dryer outlet. Check the shore cord and its plug for burned or scorched contacts. The coach battery system is 12 volts DC; a converter charges the batteries and runs 12-volt systems from shore power, and an inverter makes 120-volt AC from the batteries. Lead-acid and lithium iron phosphate batteries need different charging profiles. Generator exhaust contains carbon monoxide: the CO alarm must work, and a generator must never run with its exhaust blocked or near open windows. Work on 120-volt or 240-volt wiring, the converter, inverter or generator is a job for a qualified RV technician.
Awning and jacks
Open the awning fully and look for tears, mildew and bent arms. Cycle the leveling jacks and stabilizers. Bent arms or jacks that will not extend point to impact damage or neglect.
Red flags that should end the deal
- Delamination anywhere on the sidewalls, especially around the cabover or slide-outs.
- Soft floors, sagging ceilings or a musty smell that does not clear with ventilation.
- A propane smell, an out-of-date cylinder or an alarm past its replacement date.
- Burned plugs, scorched outlets or a shore cord with heat damage.
- A title that does not match the seller’s ID, or a lien that has not been released.
- A VIN on the title, registration and federal certification label that does not match or shows signs of alteration.
- A seller who cannot meet in person, wants payment by wire transfer or gift card, or pressures you to pay before seeing the RV and the title.
When to pay an independent RV inspector
An independent RV inspector, chosen and paid by the buyer, examines an RV before purchase. Hire one when the RV is large or complex, when the seller cannot demonstrate the systems, when you are buying remotely, or when any red flag appears but you still want a professional opinion. The inspector works for you, not the seller, and a written report gives you a basis to negotiate or walk away. For motorhomes, add the lab analysis of engine oil, coolant and transmission fluid. On the paperwork side, read how to check an RV’s title; a history report from an NMVTIS-approved provider (title brands, odometer readings and total-loss records) and the NICB’s free VINCheck (theft and total-loss records) fill in what the seller may not mention. For where to find candidates and how to buy safely, see used motorhomes for sale: where to look and how to buy safely.
What goes wrong in a used RV purchase
The most common mistakes are skipping the roof and walls, trusting a verbal assurance that the appliances work, and buying on emotion before the paperwork is checked. Water damage is often hidden behind fresh sealant or new interior panels. Tires that look fine can be past their safe age. A branded title affects financing, insurance and resale, so check the title before you pay. There is no general right to cancel a signed vehicle purchase afterwards, and a private sale is usually as-is, with no warranty. Pay a private seller safely: meet at the buyer’s bank, check the title and the seller’s ID, pay by cashier’s check or a transfer made in person, and sign the title and bill of sale at the same time. If a lender holds a lien, it must be released before ownership can pass. Titling, registration, sales tax and trailer rules vary by state: check your state DMV. For loans, check with your lender; for tax questions, ask a tax professional; for coverage, check with your insurer.
Common questions
What should I check first on a used RV?
Start with the roof, walls and floors. Water damage is among the most common and most expensive defects, and delamination in the sidewalls is usually a sign that water has got in. Check those before you test appliances or take a test drive.
Do I need an RV inspector for a used RV?
An independent RV inspector, chosen and paid by the buyer, examines an RV before purchase. Hire one when the RV is large or complex, when the seller cannot demonstrate the systems, when you are buying remotely, or when any red flag appears but you still want a professional opinion.
How can I tell if a used RV has water damage?
Look for bubbles, waves or ripples in the sidewalls, soft spots in floors, stains, sagging and a musty smell. Check around windows, roof vents, the cabover, slide-outs and corners. A moisture meter on interior walls finds damp that cannot be seen.
What do tire date codes mean on a used RV?
The DOT code on the sidewall ends in four digits giving week and year of manufacture: 2419 means the 24th week of 2019. RV tires often age out before the tread wears out. Common guidance is a yearly inspection once tires are 5 years old and replacement no later than 10 years from the date of manufacture.
Can I test the propane system myself?
You can check the tank or cylinder date, the OPD handwheel and the alarm test buttons, but propane system work — leak testing, regulators, lines and appliances — is a job for a qualified RV technician. If you smell propane, get everyone out and have the system checked before using it again.
Read next
RV Dealer vs Private Seller: Where to Buy a Used RV
Compare buying a used RV from a dealer or a private seller: price room, inspection access, warranty, financing, fees, paperwork and risk, plus what to check.
Repo RVs for Sale: How Bank Repos and Auctions Work
How repossessed RVs reach the market, what as-is really means, and how to inspect, bid and check the title before you commit to a repo RV.
Used RV Scams: Fake Listings, Escrow Tricks and Safe Payment
Learn the common used RV scams, from fake listings and escrow tricks to wire-transfer demands, plus how to check a seller and pay safely in person.